Last week I went through some of the financial records of the last two years of my great-grandmother's life that I found in the two drawer small file box. I also found in this box all of the documents pertaining to my great-grandmother's house - the mortgage note, the deed, and related insurance papers. In order to share these documents with my readers and to further preserve them, I decided to scan them into my computer.
My scanning software offers several options:
- black and white document
- black and white photograph
- color document
- color photograph
Deciding on a scanning method depends on what I want to do with my scan. If I want to scan an exact copy of the document as it looks to MY eye, then I probably want to scan in color in order to preserve the appearance of the aged and faded paper. However, this scanned copy does not make for a very good template to print copies from. Printing copies with a colored background, even if it is off white, will use up a lot of your ink. So it is a good idea to also scan each item in black and white, especially if you ever plan to print copies of it.

The other option is document versus photograph. Scanning as a photograph would also help to preserve the original appearance of the aged paper, however, it will pick up a lot more of the paper's blips and blemishes, including bleed through of text from the other side. You can reduce the amount of bleed through by placing a piece of black card stock on top of the paper being scanned. Or you can scan as a document and get a much clearer and crisp scan. Sometimes the typed text might not show up as dark with the document setting as it would with the photograph setting, but this can be adjusted in your graphics program using your brightness, contrast, and gamma controls.

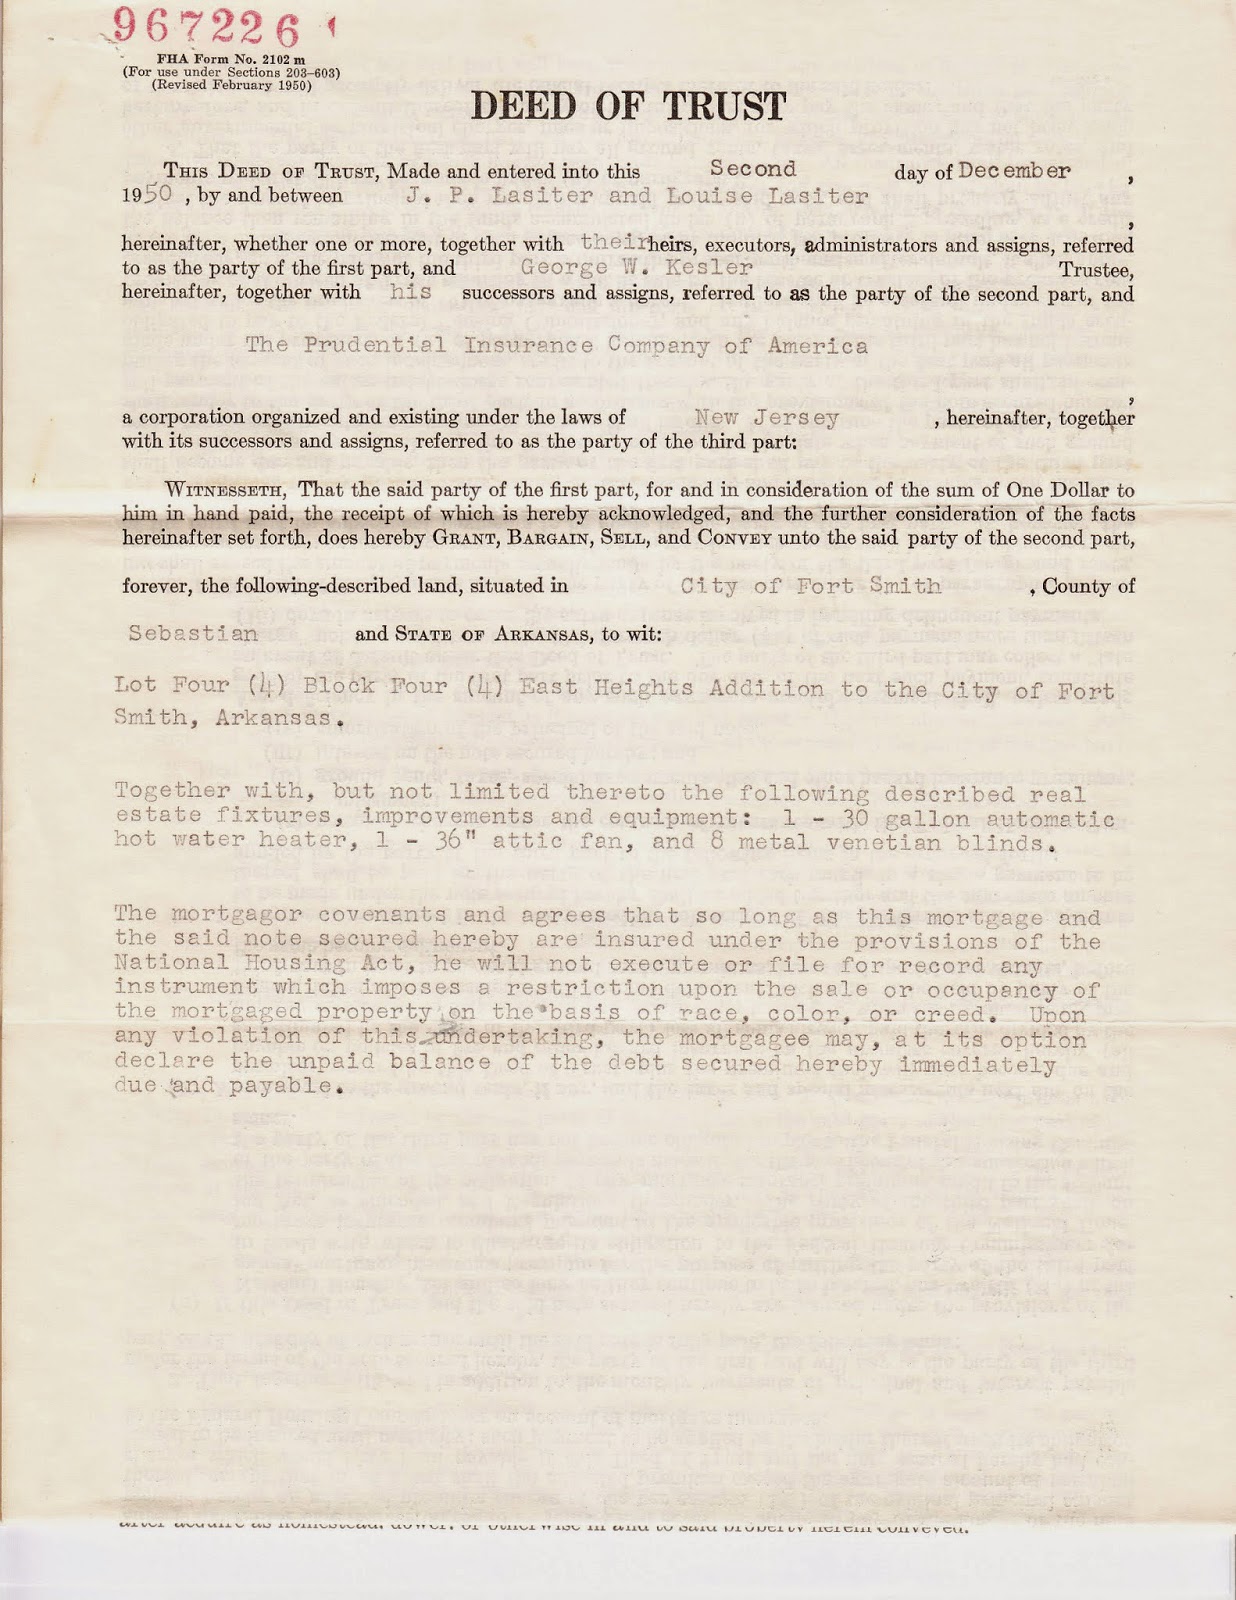
On the left is a document scanned as a black and white document - as you can see the text is pretty light. The one on the right is the same scan with gamma correction applied - now the text is much darker. Click the image to view a larger image.
Also, with regard to resolution, always scan in either 300 or 600 dpi resolution. To me, the biggest advantage is readability. If I need to zoom in to a document in order to decipher its handwriting, I can do so easily with a 300 or 600 dpi scan and still see a clear and crisp image. If I zoomed in on an image that was scanned at 100 dpi resolution, the image would be grainy and the handwriting or text unreadable.
It is best to save your images in both JPG and TIF files types. The TIF files types can be used for preservation purposes and as in the example above, TIF files can be easily zoomed and still maintain their clarity of text and handwriting. Saving images in JPG files is also a good idea, especially if you plan to publish the images on the web, on your online tree, or email to cousins. Most photo and document upload services have a maximum file upload size that can only be adhered to in a JPG format. My scanning software also allows me to save my images into either individual or multiple page PDF files. I often use this to my advantage: PDFs can be easily emailed to cousins, they offer a nice way to keep multiple pages of the same document together, and the text is often searchable (mine is!).
How do you scan your documents and does it differ from scanning photographs?


No comments:
Post a Comment